- #1 Bulk Pickup: more blocks per trip multiplies every single loop you will ever run.
- #2 Bulk Place: once loads are heavy, unloading is the slowest part of the trip.
- #3 Placement Range: fewer repositioning stops at the active layer — great, but third.
- Train while you buy: upgrades are multipliers, and gym zones up to 10x do the base growing.
- No shortcuts exist: no resets and no money tricks — blocks per minute is the whole game.
The Ranking at a Glance
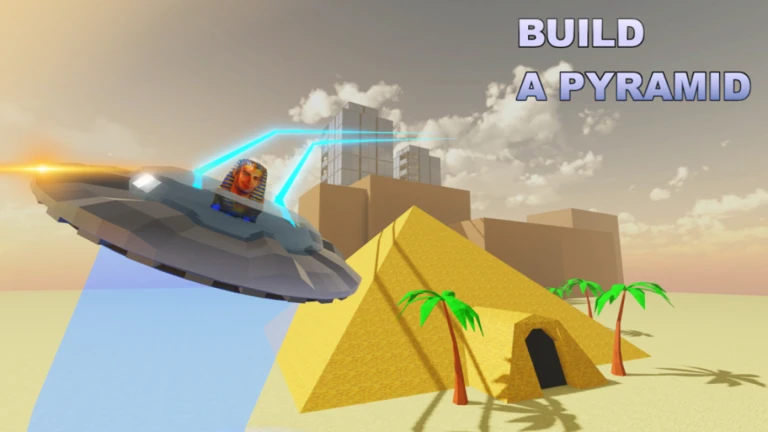
Coins are scarce and tiers get expensive, so the ranking below is ordered by how much progress each Coin buys. Build a Pyramid keeps progression honest: the shared pyramid needs 171,700 blocks, and every upgrade either raises blocks per trip or cuts seconds per trip.
| Rank | Upgrade | What It Does | Why It Ranks Here |
|---|---|---|---|
| 1 | Bulk Pickup | More blocks carried per trip | Multiplies every loop from day one |
| 2 | Bulk Place | Faster unloading at the active layer | Cuts dead time at the end of each trip |
| 3 | Placement Range | Reach the active layer from further away | Fewer repositioning stops per layer |
Buy in that order and the ladder pays for itself: Bulk Pickup makes loads worth hauling, Bulk Place makes heavy loads fast to drop, and Placement Range keeps the whole loop tight.
#1: Bulk Pickup — The King of Upgrades
Bulk Pickup tops the list because it is the only upgrade that improves every part of the game at once. The pyramid demands 171,700 blocks, and the total number of trips you personally make equals 171,700 divided by blocks per trip. Raise the divisor and every future session shrinks — permanently.
The compounding is what makes it king:
- Every trip you ever run moves more material for identical walking time
- Coin earnings from deliveries climb with the extra blocks, funding the next tier faster
- Objective progress such as Return the Slab stacks sooner on busy servers
- Training gains from gym zones get spent on bigger loads instead of wasted movement
Pour your first Coins — including the 500 from FREECODE and the 5,000 from UPGRADES5K — into Bulk Pickup tiers. Nothing else at that price stage comes close.
#2: Bulk Place — The Unload Accelerator
Bulk Place speeds up how quickly you deliver at the active layer. Its value grows exactly when Bulk Pickup starts working: once you carry six or more blocks, the seconds spent unloading become the slowest slice of every loop.
This is why the order matters. Bulk Place bought first speeds up trips that barely move anything; bought second, it accelerates loops that are already carrying real weight. On crowded servers where the active layer is busy, faster unloading also means less time standing in everyone else's way.
Buy Bulk Place once your per-trip load feels heavy and the walk feels short — that is the signal the bottleneck has moved to the drop-off point.
#3: Placement Range — The Comfort Multiplier
Placement Range lets you reach the active layer from further away, which removes the stop-start shuffle of repositioning along a growing layer. It is a genuine time saver — but a situational one, and situational upgrades rank third.
- Best on mid layers, where the active surface spreads wide
- Strong in co-op, when the layer is crowded and positioning is contested
- Weakest early, when one-block trips make range irrelevant
- Always after Bulk Pickup and Bulk Place in the same Coin budget
The Right Upgrade for Every Stage
Early Game
- Bulk Pickup, nothing else
- Redeem WELCOME for the 500/500 boost
- Train in the best gym you can reach
Mid Game
- Stack Bulk Place on top of heavy loads
- Fund tiers with SORRYFORUPDATEBUG
- Push slab milestones toward Mechs
Late Game
- Placement Range for wide active layers
- Keep Bulk Pickup climbing
- UPGRADES5K clears the expensive tiers
Pairing Upgrades With Training
Build a Pyramid keeps progression simple: hauling, training, and buying are the entire engine — there is nothing else to lean on. Upgrades act as multipliers on top of manually trained stats, so the ranking above only reaches full value when your base stats keep growing.
Train in the highest-multiplier zone available: gym zones scale each session, pools inside pyramids grant 2x to 10x your best gym, and the pyramid types stack their own bonuses — Stone 3x, Gold 5x, and the rare Void Pyramid (around a 5% roll) at 10x. A strong rhythm is haul-and-buy in one stretch, train in the top zone in the next, and let codes top up the Coin ladder every spawn.
A maxed purchase list on untrained stats still hauls slowly. The best upgrades amplify a strong base — they do not replace one.
FAQ
Q: What is the single best upgrade in Build a Pyramid?
Bulk Pickup. Raising blocks carried per trip multiplies every hauling loop you will ever run, accelerates Coin earnings from deliveries, and makes every later upgrade more effective.
Q: When should I buy Bulk Place instead of more Bulk Pickup?
Once your loads feel heavy and the walk feels short, unloading becomes the slowest part of the loop — that is the moment Bulk Place saves more time per trip than another capacity tier.
Q: Is Placement Range ever worth an early buy?
Rarely. Its value scales with wide, crowded active layers, which appear in the mid game. Early trips move so few blocks that repositioning time is not the bottleneck yet.
Q: Do upgrades work without training in Build a Pyramid?
Poorly. Purchases act as multipliers on manually trained Speed and Strength, so players who skip high-multiplier gym zones — including pools inside pyramids at 2x to 10x — get far less from every tier.